
Today I am so excited to have Jessica from Sew Homegrown here with a guest post. She is certainly a talented and creative individual who provides me with a lot of inspiration-hope you're inspired, too. So without further adieu...
Enchanted Forest Invitations Tutorial
Hello Spartan Living readers! This is Jessica from Sew Homegrown. I am so happy to be guest posting on Tristin’s lovely blog. Well, my daughter’s second birthday is just around the corner, so I am in full party planning mode here at my house. Today I wanted to share with you a free pattern + instructions on how to make these invitations that I created. Enchanted Forest Invitations Tutorial

The theme for her party is “Enchanted Forest”. It is inspired by this lovely post in Hostess with the Mostess. We have recently moved to TN, and our home is literally in the middle of a forest - so it seemed that theme was fitting. Now, I will warn you - these invitations are addicting to make. Once you make one, you will begin a frenzy of toadstool crafting. Seriously, I can’t stop - they are so fun! AND so easy. Are you ready?
Ok here we go :)
You will need:
Crafting paper in various colors
Scissors
This free pattern
(the mossy hill needs about an inch added to the bottom - it got cut off...sorry)
Glue
Hole Punch
Begin by printing the pattern and cutting out the pieces.
(It might be nice to print it onto something sturdy, such as cardstock).
You can cut them out in whatever colors you like - this is what I did:

Be sure to cut the little slits in the bottom of the toadstools.
Next, if you are going to print text, now is the time to do it. That way you can glue your woodland scene around the text.
Begin with the mossy hill. Glue it along the bottom of your invitation.
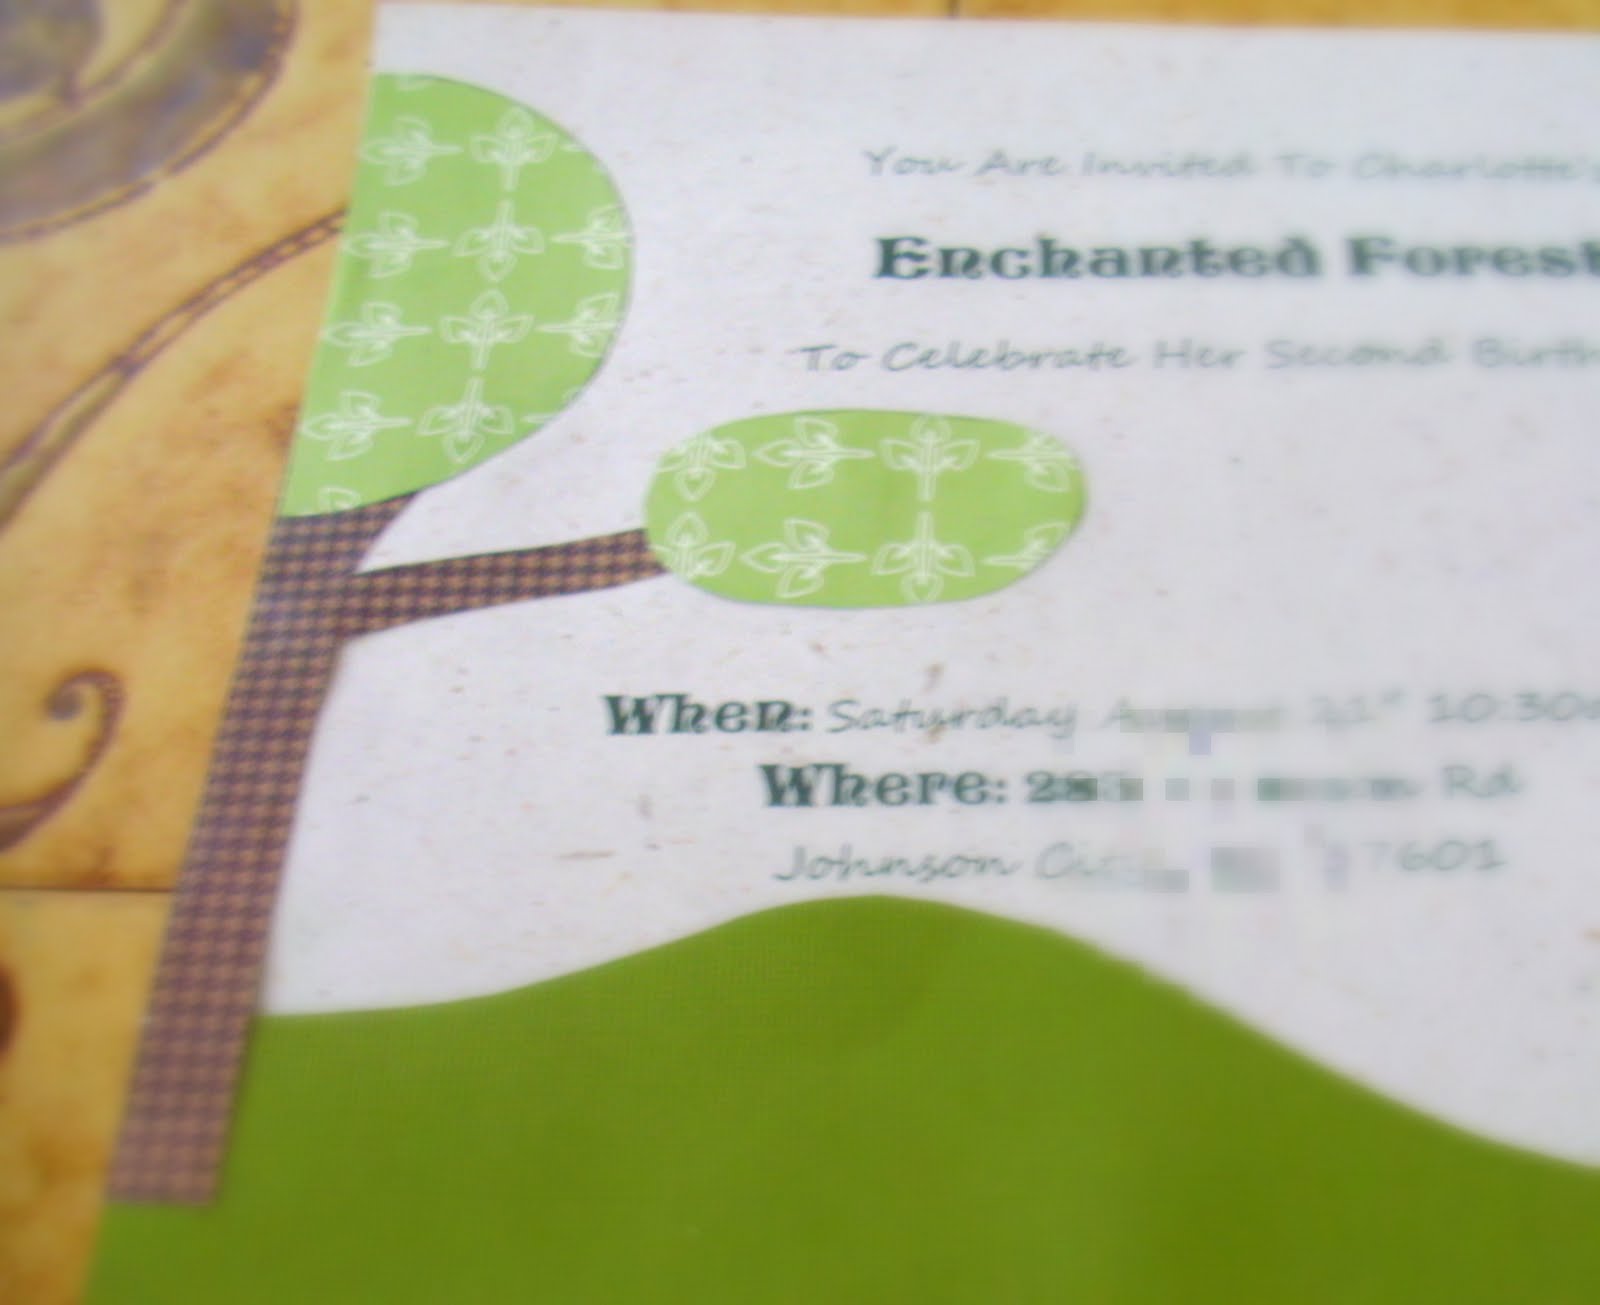
Next, do the left tree.
Then the large toadstool.

Toadstool assembly:
Slip the “trunk” inside the front of the slit on the toadstool bottom.
Glue the bottom to the top. Now glue the toadstool to the paper.
Using a regular hole-punch, punch out lots of little circles from the paper you would like to use for the toadstool spots. Cut some in half, to be placed on the “edge” of the toadstool.
This makes them look realistic ;)
I attached the dots by pouring some glue into a bowl, and using tweezers, dipped each dot into the glue, and stuck it on the toadstool. That’s sounds very “Martha”, I know, but it actually doesn’t take long, and kept me from going insane trying to use my fingers.
Now the evergreen tree- stack the pieces in reverse order - 4 is the trunk, then 3,2,1

Lastly the small toadstool.

You are done. You can add some butterflies and bugs if you like.


Happy crafting! and Thanks to Tristin for having me on!
jessica
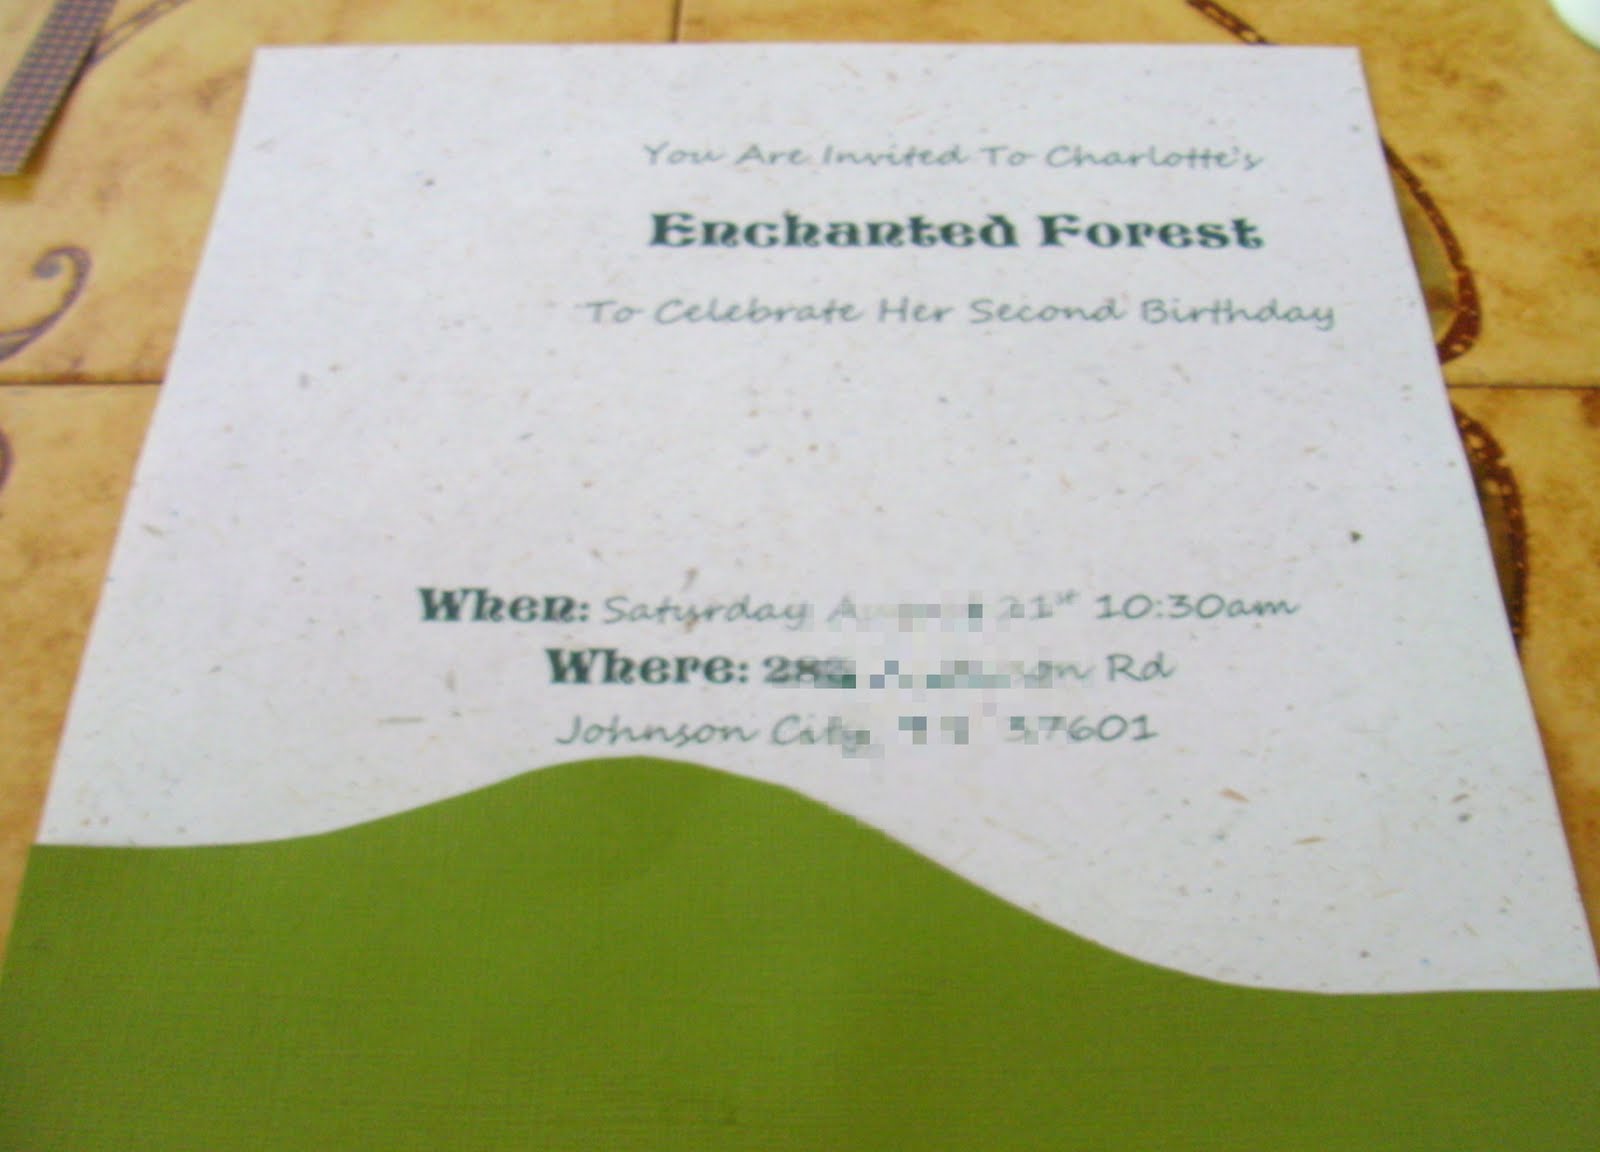
What a beautiful invitation. I believe an invitation really sets the tone for an event, and according to this invitation, Charlotte's 2nd birthday party is going to be fabulous! Please do check out Jessica's blog to see the great ideas she has in store-you're sure to be inspired!
What a beautiful invitation. I believe an invitation really sets the tone for an event, and according to this invitation, Charlotte's 2nd birthday party is going to be fabulous! Please do check out Jessica's blog to see the great ideas she has in store-you're sure to be inspired!

No comments:
Post a Comment
Note: Only a member of this blog may post a comment.